SureLYNX™ Setup
Overview of SureLYNX™ Setup
Tinubu Surety Solution for Carriers (TSC) allows the setup of custom messages for various pages on their TSC bond store as well as allowing users complete control over the CSS of their store.
This guide will demonstrate how to use the various components in the SureLYNX™ setup area to customize a TSC bond store.
Accessing the SureLYNX™ Setup Area
Select System Tables/Agencies.
Click the Edit link to navigate to an agency's SureLYNX™ Setup
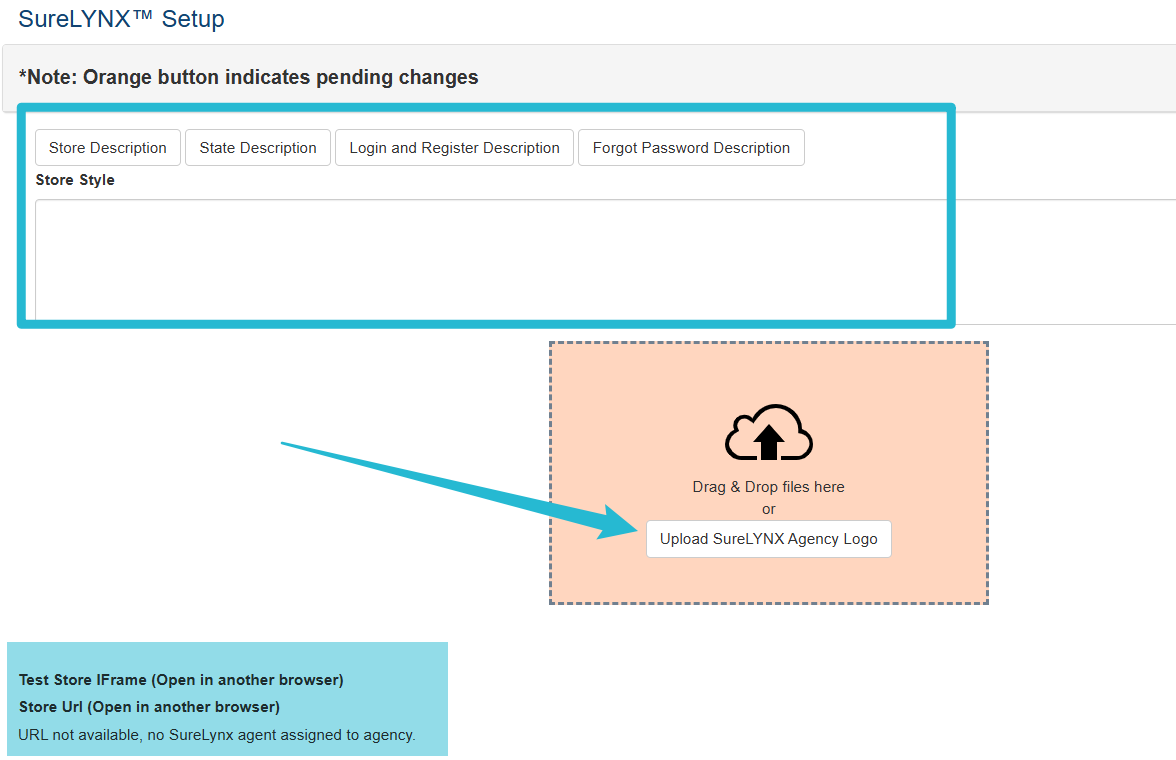
Scroll down to the SureLynx (TM) Setup area.
Set up a Message for the Store Description
The Store Description is first message that a potential customer will see when they enter an agency's TSC Store.
Click the Store Description button to customize the message.
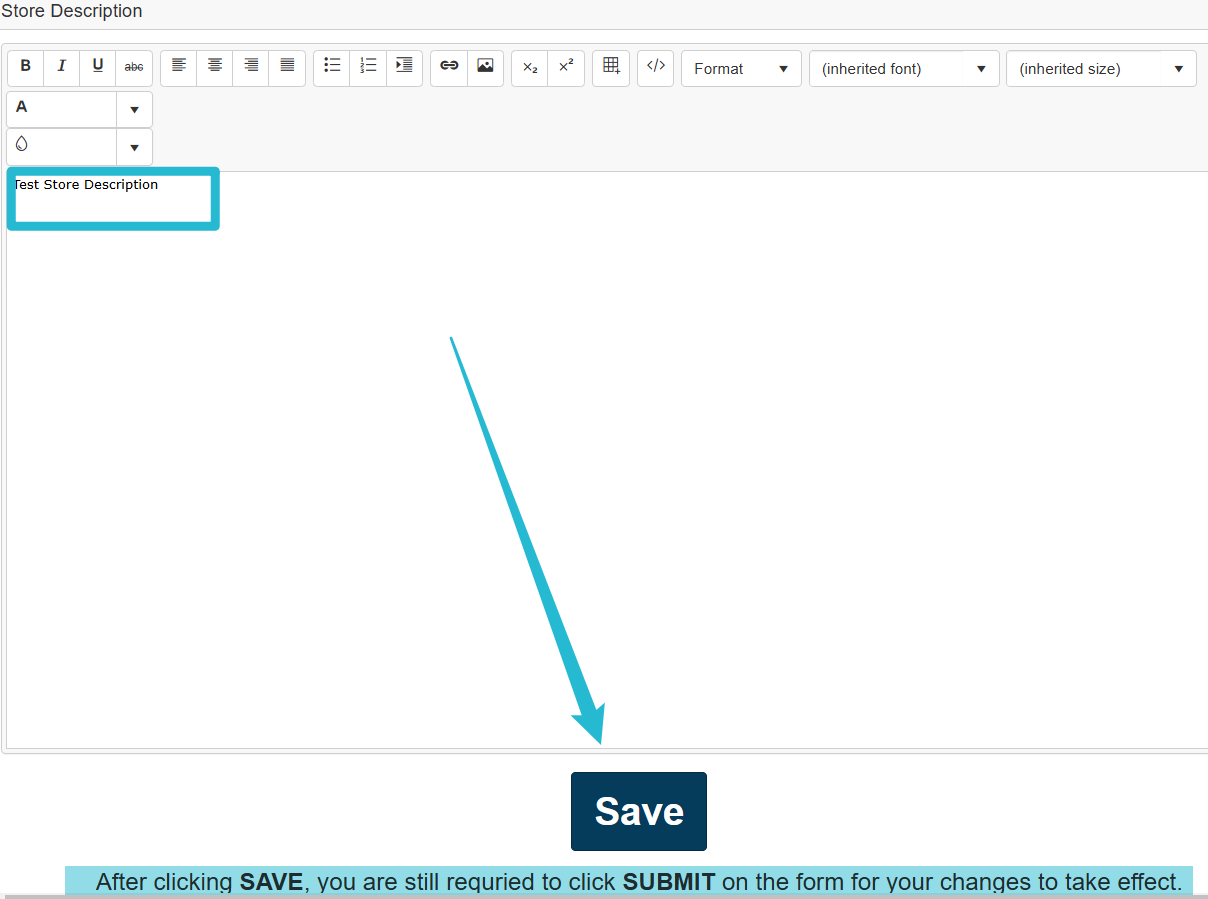
Add/Edit the Store Description on the pop up window.
Click the Save button to save the changes to the message.
You must still click the Submit button on the main screen to save changes completely.
Set up a Message for the State Description
The State Message will be displayed for every state when viewing its bonds.
Click the State Description button from the SureLYNX (TM) Setup section.
Click the Save button to save the changes to the message.
You must still click the Submit button on the main screen to save changes completely.
The <%StateName%> overlay can be used on this message to specify the particular state bond offering that is being viewed.

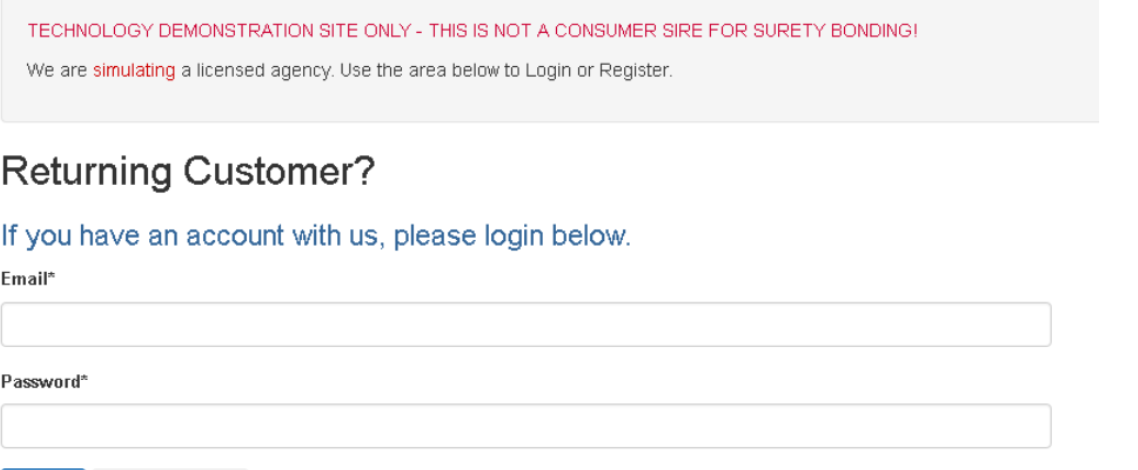
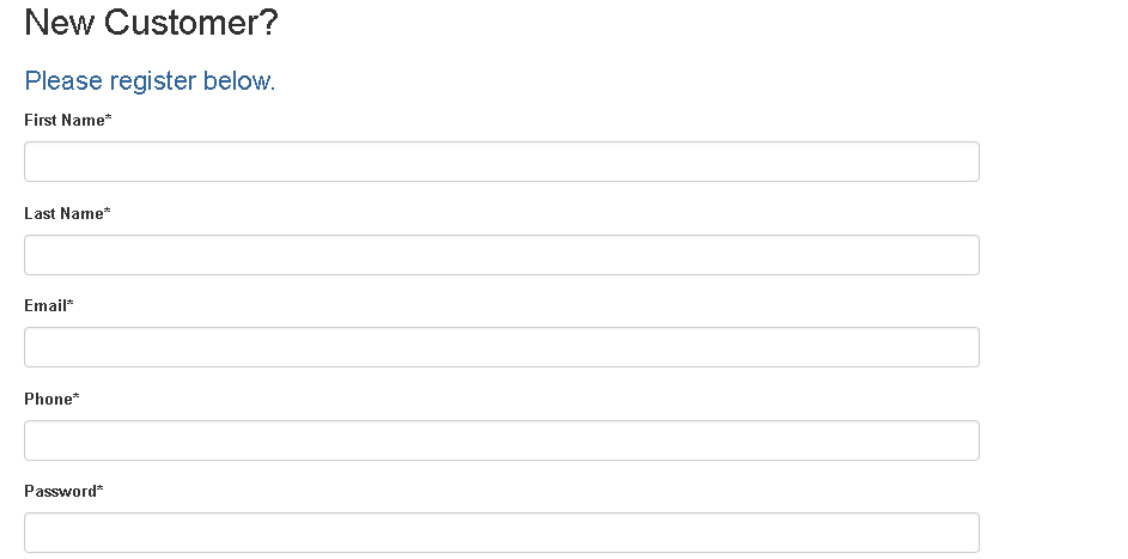
Set up a Message for Login and Register Description
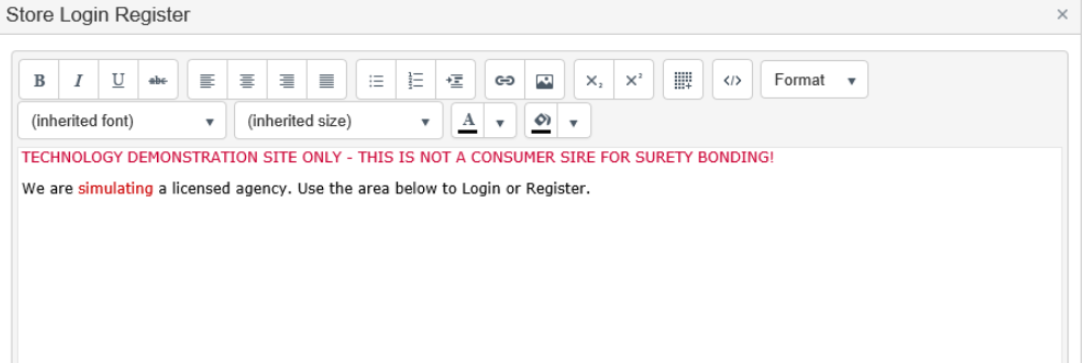
The Login and Register Description is shown whenever a user reaches the login and register page, which depending on your store setup, could be the first page that is reached when navigating to a TSC store or after selecting a bond to be purchased.
Examples shown below.
Click the Login and Register Description button from the SureLYNX (TM) Setup section.
Click the Save button to save the changes to the message.
You must still click the Submit button on the main screen to save changes completely.
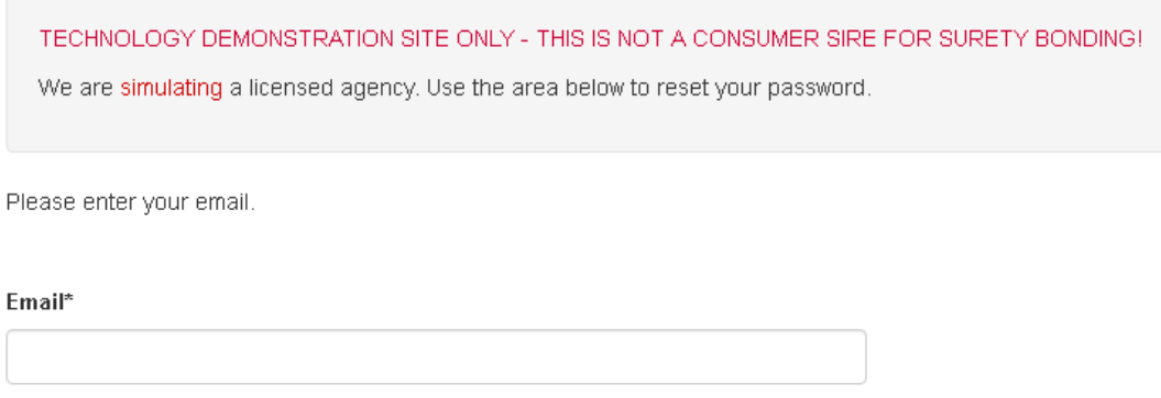
Set up a Message for the Forgot Password Description
The Forgot Password Description is shown whenever a user reaches the login and register page, which depending on your store setup, could be the first page that is reached when navigating to a TSC store or after selecting a bond to be purchased.
Examples shown below.
Click the Password Description Description button from the SureLYNX (TM) Setup section.
Click the Save button to save the changes to the message.
You must still click the Submit button on the main screen to save changes completely.

Creating Personal Store Styling
The Store Styles area allows clients the ability to edit the CSS for a TSC Store for greater customization.
To edit a TSC Store's CSS from the 'SureLYNX (TM) Setup' page copy the link under the label Test Store iFrame into another browser.
The URL will bring you to a sample TSC Store site that will allow you to edit and apply changes to an example storefront.

Make changes by targeting HTML items and changes by writing custom CSS for the items in the text area provided at the top of the pages.


Once the desired changes have been made click Apply to see the changes in the example TSC Store.

To keep the custom CSS copy the entries into the Store Style text area located in the Agency's SureLYNX (TM) Setup area.

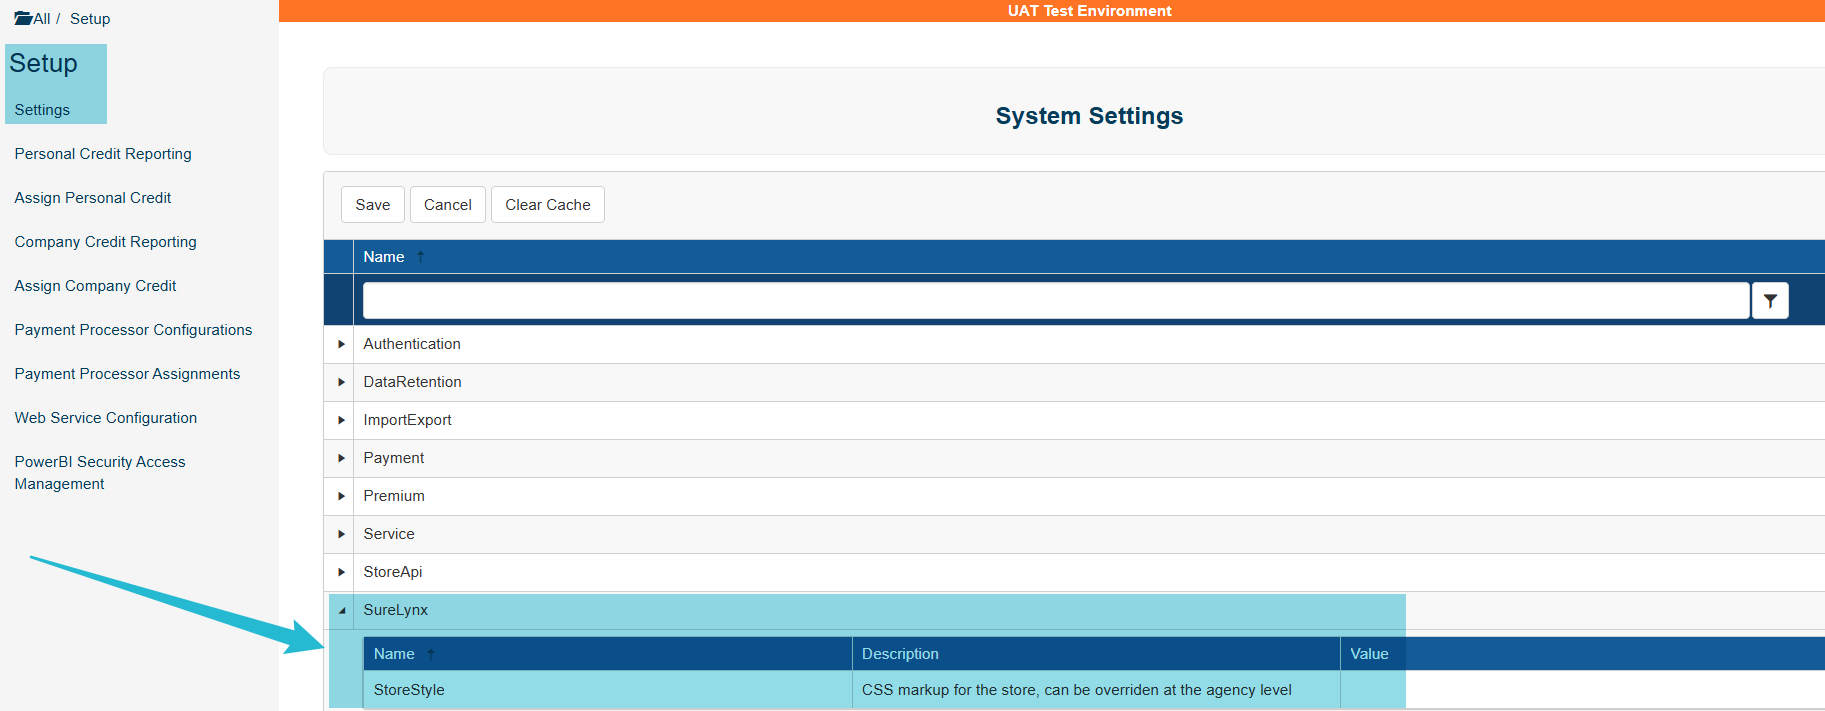
You can also apply a store styling across all agencies by adding the custom CSS to the setting StoreStyle located from Setup/Settings.
