Creating and Editing Obligees
Overview of Creating an Obligee
An essential part of any bond is the obligee. This guide is to help users add these obligees to the system for the setup of a commercial bond or for the list of selectable obligees for a contract bond.
For a commercial bond within Tinubu Surety Solution for Carriers (TSC), the obligee is one of five criteria that compose a bond configuration (the others being: State, Class, Category, and Carrier).
For a contract bond within TSC, the obligee is selected from a list of obligees in the system.
Creating an Obligee
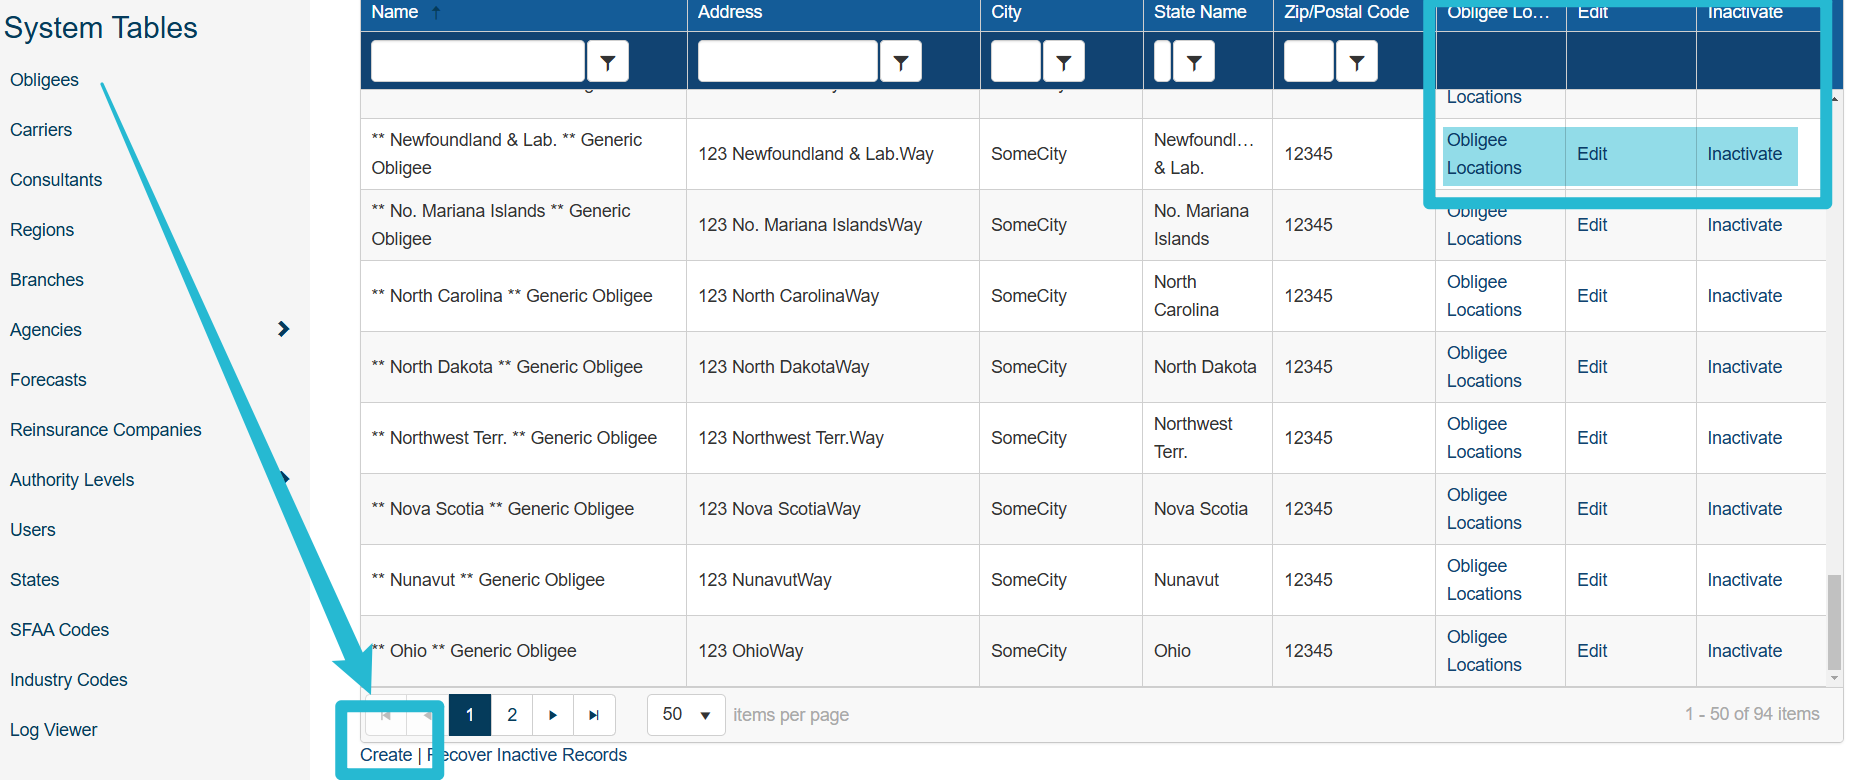
Select System Tables/Obligees.
Select the Create link at the bottom left hand corner of the screen.

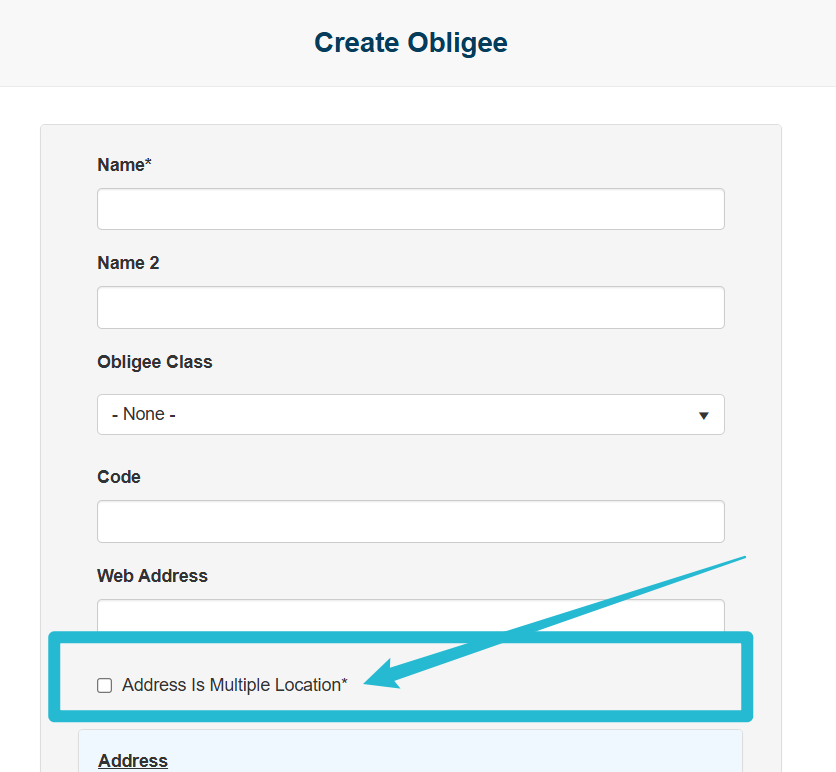
Enter the information and select Submit at the bottom of the screen to save.
The state entered for the Address field, will determine the state criteria for a commercial bond configuration.
Select Back to List to return to the list of obligees.

Multi-Address Obligee
Additional addresses can be added to an obligee, if needed. When using this
feature, the user will select from the available addresses entered for the obligee
on the initial bond information page during the bond application.To configure the additional addresses, mark the obligee as a multi-location
obligee on the create/edit obligee page.Once submitted, the standard obligee
address will be copied into the multiple obligee locations.Once marked, open the Obligee Locations link for the obligee. Create the addresses needed. These will appear in the obligee location dropdown as noted above.
Editing an Existing Obligee
Select Edit to the right on the obligee you wish to edit as highlighted above.
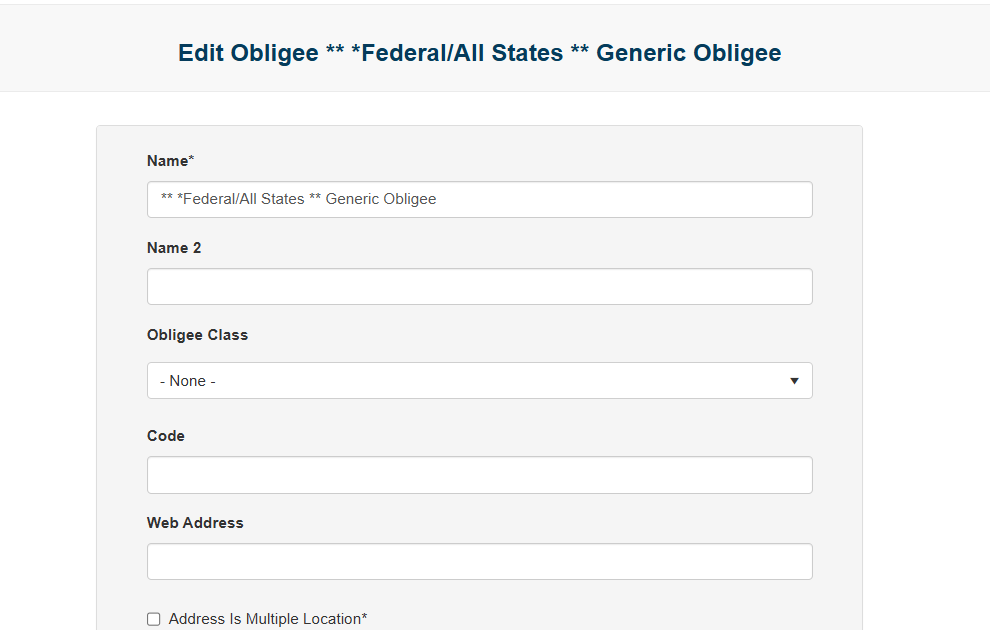
Complete your edits and select Submit at the bottom of the screen to save.
Select Back to List to return to the list of obligees.

Inactivating an Existing Obligee
Select Inactivate to the right on the obligee you wish to disable as highlighted above.
You will prompted to confirm or cancel your action.
Reactivating Obligees
Select Recover Inactive Records at the bottom of the obligees screen.
Click on the Reactivate link for the obligee you wish to enable.
You will prompted to confirm or cancel your action.
