Creating Agent within an Agency
Overview for Creating an Agent
Tinubu Surety Solution for Carriers (TSC) allows users to create agents within an agency. Agents within the system will be able to login and purchase bonds assigned to their agency and submit accounts on their agency's behalf.
Creating an Agent
Select System Tables/Agencies/Agent.
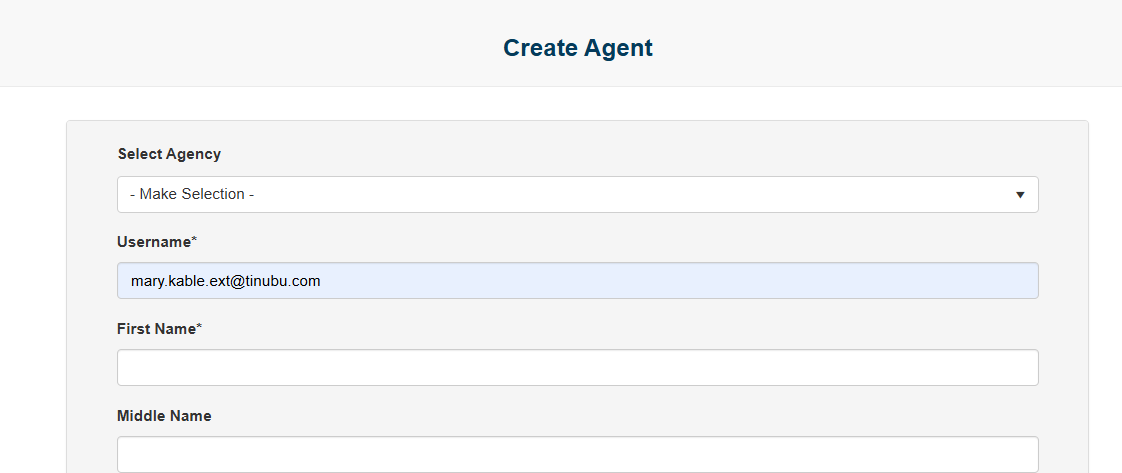
Click the Create New Agent button at the top right of the screen.


Field definitions are found below
Producer Of Record
If this option is enabled, the created agent user will be available to be selected as a producer of record during the buy a bond process.
Attorney In Fact
If this option is enabled, the created agent user will be available to be selected as an Attorney In Fact during the buy a bond process.
User is Locked Out
If this option is enabled, the created agent user will not be able to log into TSC.
All Agent
If selected, this agent would be able to be selected as the Producer of Record across all bond applications regardless of which agency the application is under, as a means to have a master producer of record option.This is only available when the All Other Producer of Record user role allowed action is enabled for the user making this designation.
Security Role
There are two Security Roles delivered by default in TSC: Agent and SureLYNXAgent. An agent is a user that is used to log into the system to buy bonds and submit accounts. A SureLYNX Agent's primary function is to serve as the 'agent' associated with bonds purchased on an TSC store.
Click the Submit button at the bottom of the screen to create the new agent.
Clicking the Back to List button will cancel the creation of the new agent.
Inactivate an Agent
Select the Inactivate link of the Agent you wish to inactivate.
Inactivating a record will not permanently delete the record but remove it from active use.
You will be prompted to confirm or cancel your action.

Recover an Inactive Agent Record
Select the Inactive Records button from the top right of the screen.
Click the Reactivate link to reactivate the agent.
You will be prompted to confirm or cancel your action.
