Adding Questions to Question Groups
Overview of the Questions Section
The questions section of Tinubu Surety Solution for Carriers (TSSC) is where users enter questions into the system to later apply these to applications. Each question is under a question group, which serve as organizational folders for the questions. These questions can be used to obtain the information needed for underwriting. TSSC has the ability to set rules dependent on the answer to questions to auto-approve, auto-reject, or refer applications.
Accessing Question Groups
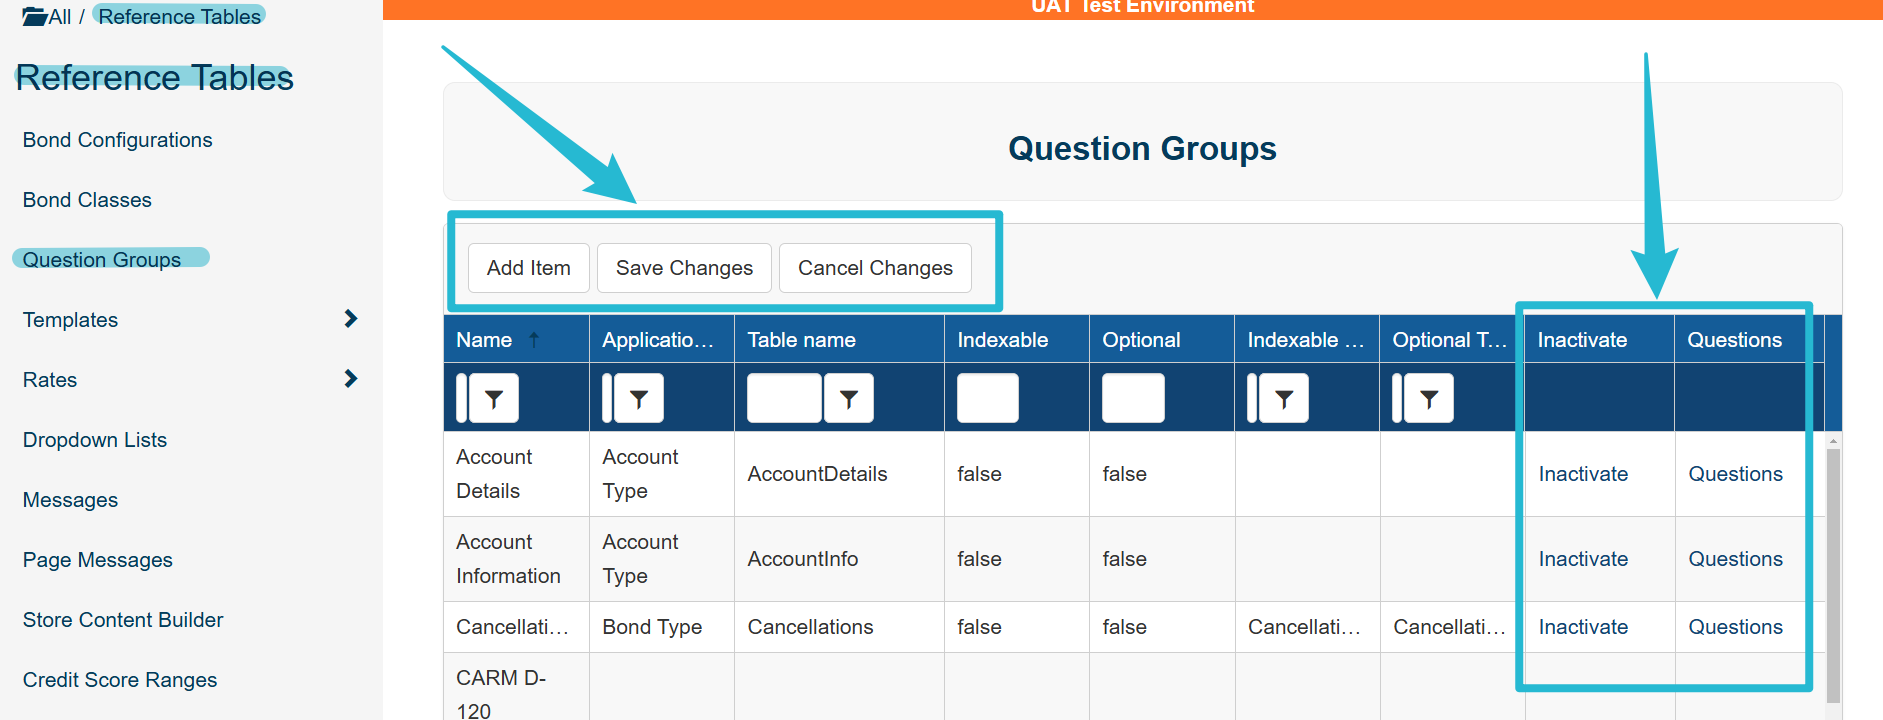
Select Reference Tables/Question Groups.

Adding and Editing Questions
Select Questions on the Question Group row you wish to edit. This is highlighted in the image above.
If you need to create a new group. See the https://tinubu.atlassian.net/wiki/pages/resumedraft.action?draftId=4846485531&draftShareId=9d00cda3-61d2-4e01-bfd7-4db7d262e2a9 guide for more details.
A table of all questions within that question group will be displayed.
Select the Add item button at the top of the table to add a new question to this question group,. A new row will be created on the bottom of the table.
Select the field to be modified (click in the field) and make the desired changes.
Select Save Changes or Cancel Changes to continue.
You will be prompted to confirm or cancel your action.

Column Specifications
Column Name
Enter a name for the new question group in the Column Name column. This name is limited only to letters and numbers. Do not use spaces or special characters. This will be the second half of question overlay fields.
Question Input Type
Choose the type of question in the Question Input Type column. This will limit the user to only enter the desired information type.
Life Cycle
Select the life cycle(s) for the question. This setting will be the default value for the question when applied to an application. This can be changed to meet the exact needs of that application. The https://tinubu.atlassian.net/wiki/pages/resumedraft.action?draftId=4846256193&draftShareId=c65d31d6-06cb-4b93-973e-48d7babb97f0 guide contains more details.
Dropdown
If Drop Down was chosen for the Question Input Type, select the type of drop down. If not, disregard this step. See the Dropdown Lists - Creating and Editing guide for more details for setting up dropdown lists.
Textbox Validation
If used, this will limit the user to only enter the desired type of information.
Required
If the question will be a required question, check the checkbox to have the value set to True. This setting will be the default value for the question when applied to an application. This can be changed to meet the exact needs of that application.
Length
Enter the maximum number of characters allowed for this question (optional). If changes are made to this field, the localization cache for the site needs to be cleared. This is handled by selecting Localization Tables/Clear Localization Cache.
Question Text
Enter the text desired to be displayed during the application.
Inactivating an Existing Question
Select Inactivate to remove a question which has been saved.
This will not delete it permanently, but it will not be available for use until it is reactivated.
When inactivating a question, it will also remove the question from all application where used.
You will be prompted to confirm or cancel your action.

Reactivating an Existing Question
Select Recover Inactive Records (shown in the above image) to recover an inactivated question.
A table of all inactivated questions from that question group will appear.
Select Reactivate on the right of the row for the question that is to be reactivated.
You will be prompted to confirm or cancel your action.
Select Back to Active Items to return to the Questions for Account Details screen.

